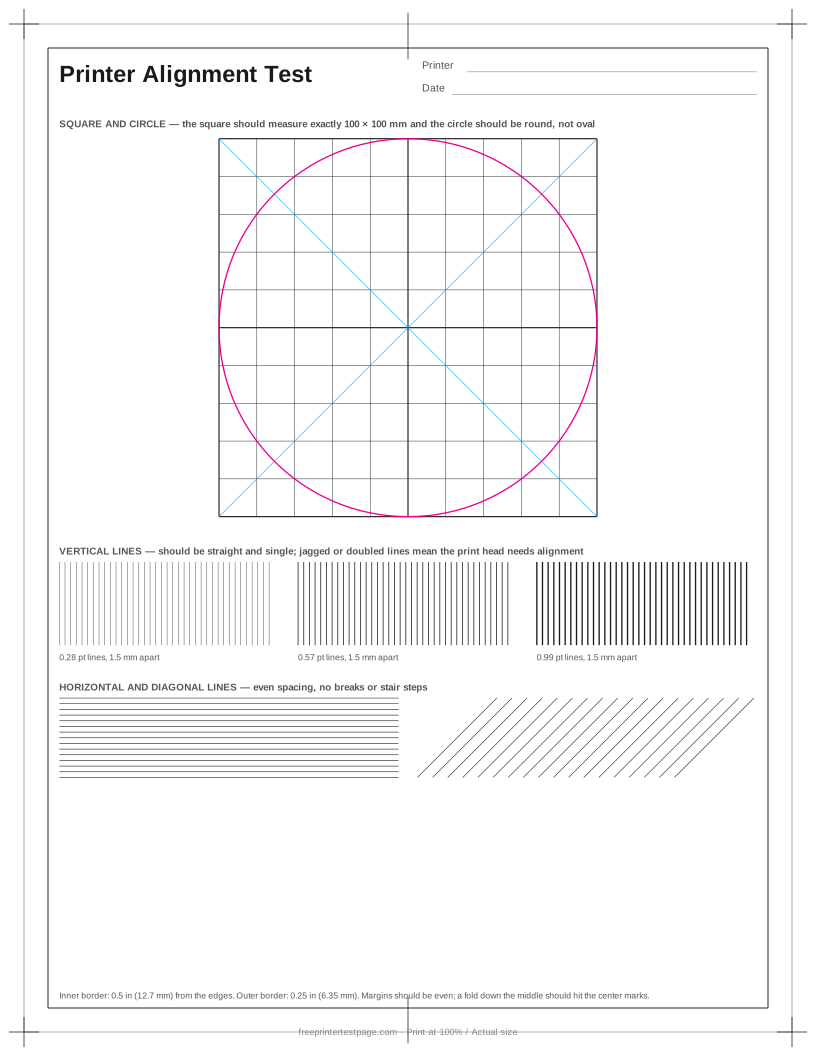
Two different problems show up here. Paper alignment — the paper feeding in at an angle or off to one side — shows in the borders and margins. Print head alignment — the head printing slightly differently in each direction — shows as doubled or jagged vertical lines.
How to print it
- Pick the paper size above, and add the printer name and date if you want to keep the printout.
- Click Print test page (or Download PDF and open it).
- In the print dialog, choose your printer and set the scale to 100% or Actual size.Use plain paper unless you are testing photo paper.
How to read the printout
- Borders and margins
- Measure the white space on all four sides. Equal margins mean the paper fed straight; a margin that is wider at the top than the bottom means the paper went in at an angle.
- Center marks
- Fold the sheet in half left to right: the fold should run through the marks at the top and bottom. If not, the page is shifted sideways.
- Square and circle
- The square should measure 100 × 100 mm and the circle should be perfectly round. An oval or a rectangle means the page was scaled differently in each direction.
- Vertical lines
- Should be straight and single. Doubled, fuzzy or zig-zag lines mean the print head needs alignment from the printer’s maintenance menu.
- Diagonal lines
- Should be smooth, without stair steps or breaks.
Something wrong on your print?
Tap the problem you see for the usual causes and what to try.
Jagged, doubled or crooked lines
Usual causes: The print head is out of alignment, or the paper is feeding in at an angle.
- Run Print Head Alignment from the printer’s maintenance menu or the driver’s Maintenance tab.
- Adjust the paper guides so they touch the stack on both sides, and do not overfill the tray.
- Print the Alignment Test page to see whether the problem is the head (doubled lines) or the paper (uneven margins).
Page printed too small, too large or cut off
Usual causes: The print dialog is scaling the page, or the paper size setting does not match the paper.
- Set Scale to 100% or “Actual size”, and turn off “Fit to page” or “Shrink oversized pages”.
- Make sure the paper size in the dialog (Letter or A4) matches the paper in the tray.
- Print the Print Scale Test page and measure the rulers.
Smudges, ink spots or toner marks
Usual causes: Ink not dry before the next sheet lands, ink on the rollers or inside the printer, or on laser printers loose toner or a dirty fuser.
- Let prints dry before stacking them, and choose the right paper type so the printer uses the right amount of ink.
- Clean the paper rollers with a lint-free cloth and a little water.
- Marks repeating at the same distance down the page come from a roller or the drum — measure the gap and check your manual.
More test pages
 Printer Test Page
 Color Printer Test Page
 Black and White Test Page
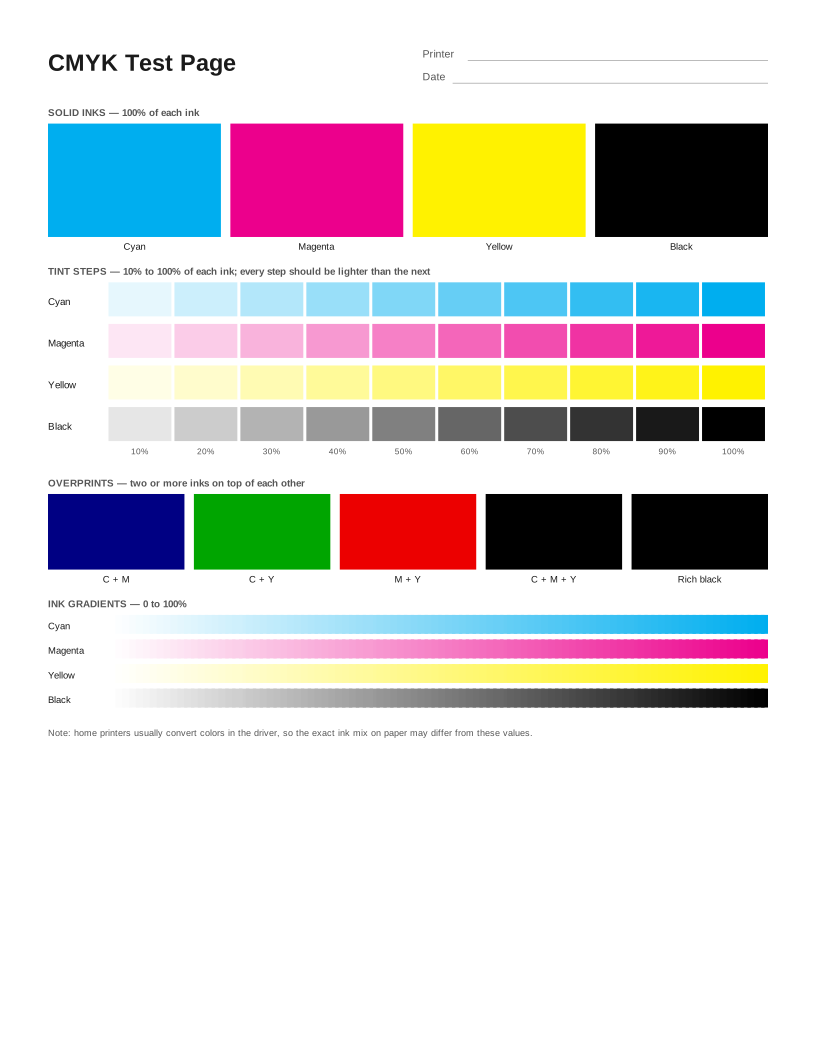 CMYK Test Page
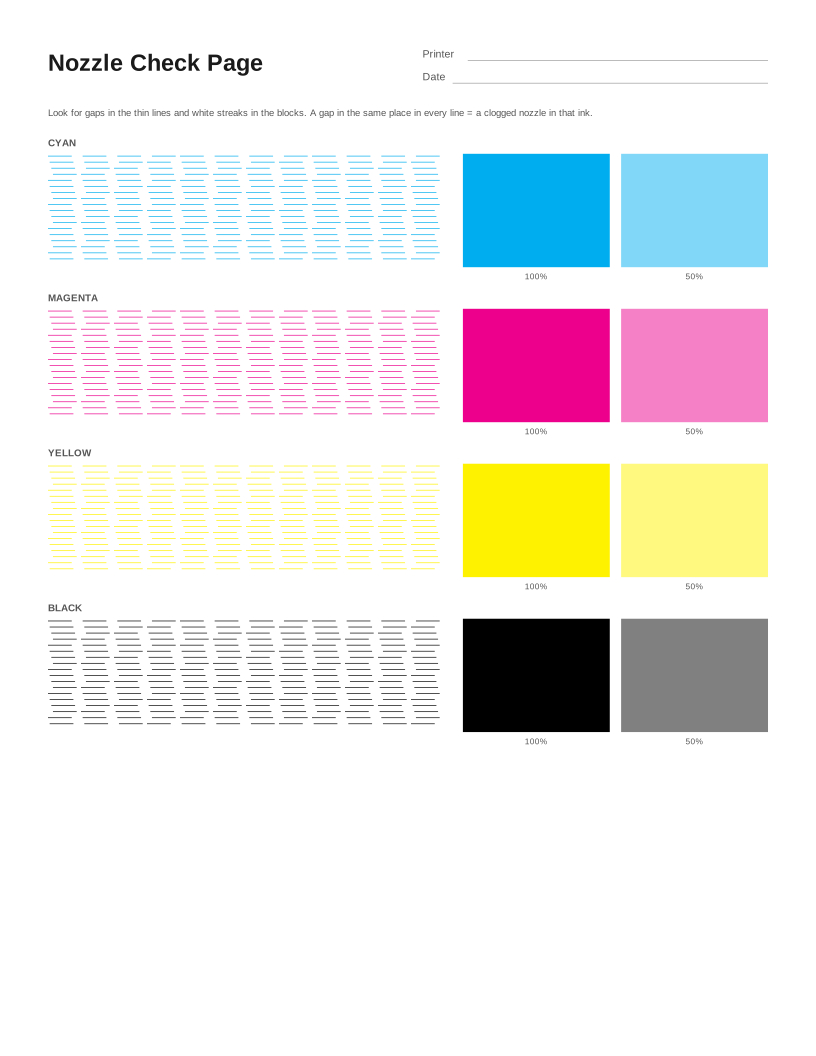 Nozzle Check Page
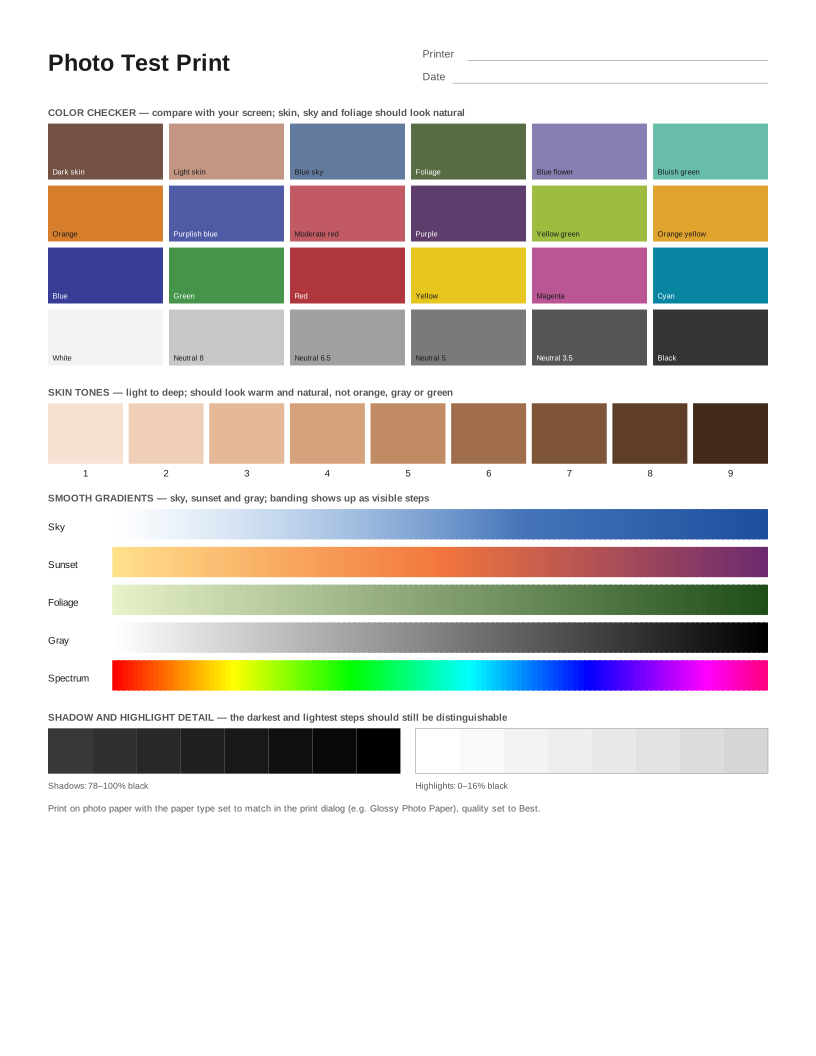 Photo Test Print
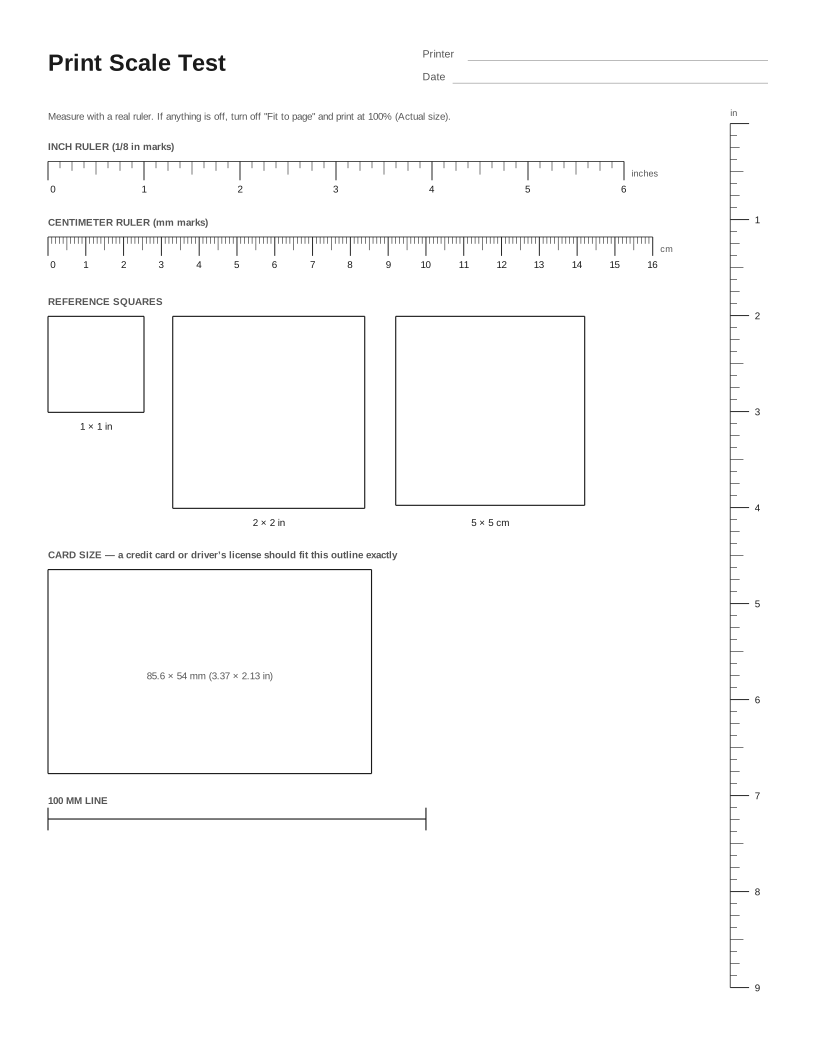 Print Scale Test (Actual Size Check)
 HP Printer Test Page
 Epson Printer Test Page
 Canon Printer Test Page
 Brother Printer Test Page
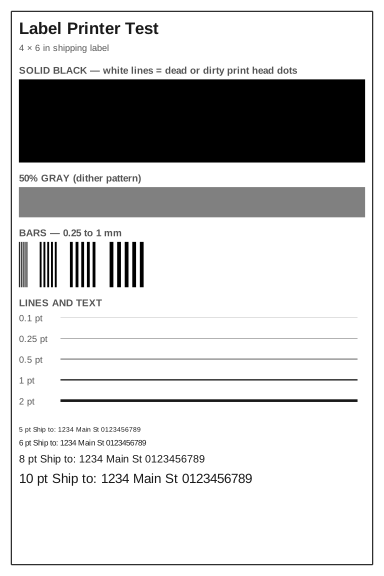 Label Printer Test Page
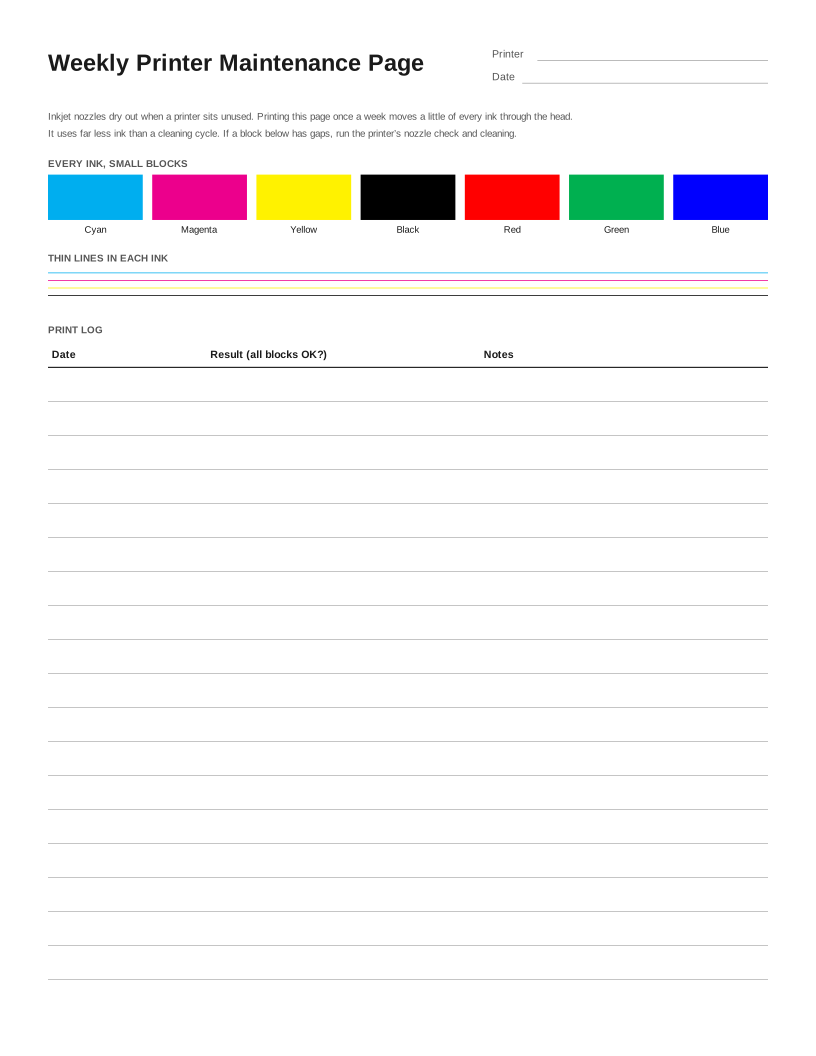 Weekly Inkjet Maintenance Page
Frequently asked questions
How do I align my print head?
Most inkjet printers have a Print Head Alignment option in the maintenance menu on the printer or in the driver (on Windows: Printing Preferences → Maintenance). It prints a pattern and either scans it automatically or asks you to pick the best-looking block.
Why does my printer print off-center?
Check that the paper guides touch the stack on both sides, the paper size in the print dialog matches the paper, and “fit to page” is off. If the offset is the same every time, many printers let you adjust the print position in their settings.
Why are my prints crooked?
Usually the paper guides are loose, the tray is overfilled, or the rollers are dirty and pull one side faster. Fan the paper, load a smaller stack, and clean the pickup rollers with a lint-free cloth and a little water.