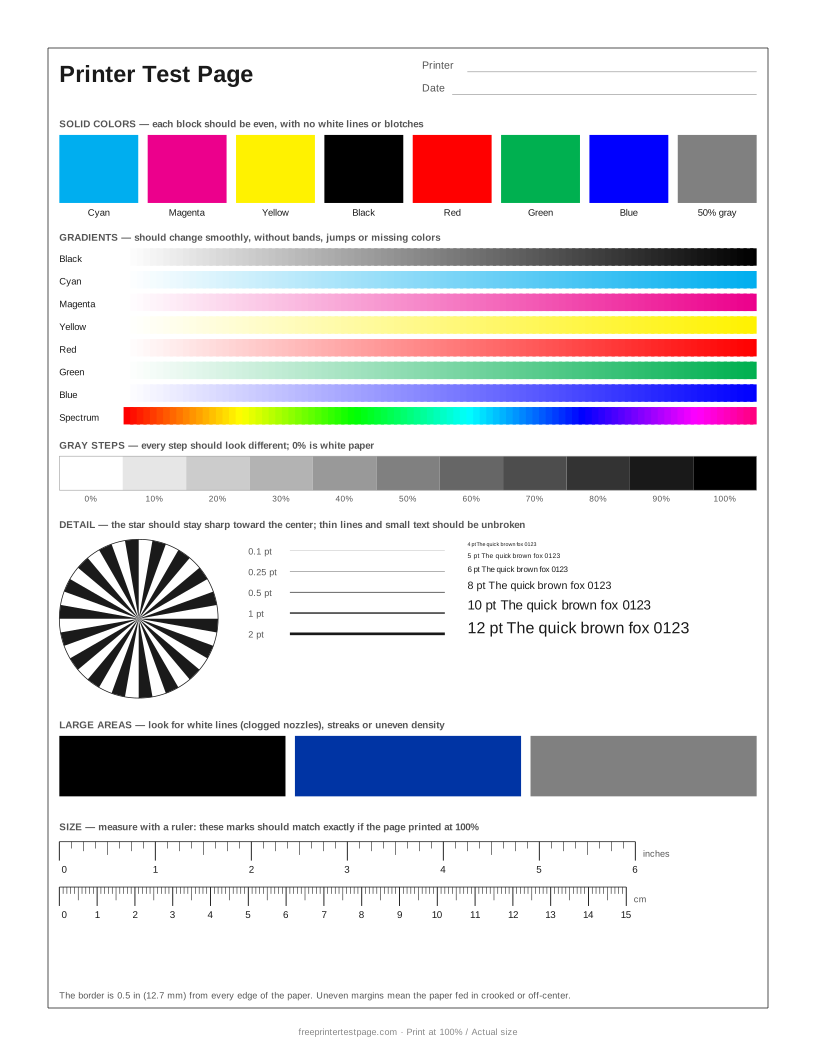
HP’s own diagnostic is called the Print Quality Report (or Print Quality Diagnostic Page). It shows the ink nozzles in more detail; the steps to find it are below. Use both: HP’s report to check the head, this page to check a real print from your computer.
How to print it
- Pick the paper size above, and add the printer name and date if you want to keep the printout.
- Click Print test page (or Download PDF and open it).
- In the print dialog, choose your printer and set the scale to 100% or Actual size.Use plain paper unless you are testing photo paper.
How to read the printout
- Solid colors
- Each block should be one even color. A missing block points to an empty cartridge or clogged nozzles in that ink; thin white lines across a block are clogged nozzles.
- Gradients
- Each strip should fade smoothly from white to full color. Visible steps or bands usually mean a low print-quality setting or a print head that needs cleaning.
- Gray steps
- All 11 steps should look different. If the dark steps merge into black, the printer is printing too dark; if the first steps disappear, too light.
- Detail
- The star should stay sharp until close to the center, the 0.1 pt line should be visible and the 4 pt text readable with a magnifier.
- Large areas
- Large blocks show streaks, banding and uneven density that small swatches hide.
- Size and border
- The rulers should match a real ruler exactly, and the border should sit 0.5 in (12.7 mm) from every edge.
Print HP’s built-in Print Quality Report
- Inkjet printers with a touchscreen: open Settings (or Setup) → Reports or Tools → Print Quality Report.
- In the HP Smart app: select your printer → Printer Settings → look for Print Quality Tools.
- LaserJet printers: Setup or Reports → Print Quality Page (or Configuration Report).
- On Windows 11 you can also print the built-in Windows test page: Settings → Bluetooth & devices → Printers & scanners → choose your printer → Print test page.
Menu names vary by model. If you cannot find them, search your model number plus “print quality report” on HP’s support site.
Something wrong on your print?
Tap the problem you see for the usual causes and what to try.
Nothing prints at all
Usual causes: The job is stuck in the queue, the computer is sending to a different (often offline) printer, or the printer is not connected.
- Check that the printer you picked in the print dialog is the right one and shows as online.
- Clear the print queue, then turn the printer off and on.
- On Wi-Fi printers, make sure the printer and computer are on the same network; print the printer’s own network report from its menu.
- If the printer prints its built-in test page but not from the computer, reinstall the driver or re-add the printer.
A color is missing or looks wrong
Usual causes: Empty or dried cartridge, clogged nozzles, protective tape on a new cartridge, or a cartridge or ink bottle in the wrong slot.
- Check ink levels and make sure all protective tape is removed from new cartridges.
- Print the Nozzle Check page (or the printer’s built-in nozzle check) to see which ink is affected.
- Run one head cleaning, then check again. Do not run more than two or three in a row.
- If one color is replaced by another, check that each cartridge or ink bottle is in the right slot.
White lines or streaks across the page
Usual causes: On inkjets: clogged nozzles. On laser printers: low toner or a dirty or scratched drum. On thermal label printers: a dirty or dead print head dot.
- Inkjet: run the nozzle check and one head cleaning, then print the test page again.
- Laser: remove the toner cartridge and rock it gently side to side to spread the toner; clean the corona wire if your drum has one.
- Thermal: clean the print head with isopropyl alcohol and let it dry.
- If lines appear in exactly the same place after cleaning, a part (print head or drum) may need replacing.
Faded or light print
Usual causes: Draft or toner-save mode, low ink or toner, the wrong paper type setting, or partly clogged nozzles.
- In the print dialog, set quality to Normal or Best and turn off draft, economy or toner-save mode.
- Make sure the paper type in the dialog matches the paper in the tray.
- Check ink or toner levels, then run a nozzle check.
Jagged, doubled or crooked lines
Usual causes: The print head is out of alignment, or the paper is feeding in at an angle.
- Run Print Head Alignment from the printer’s maintenance menu or the driver’s Maintenance tab.
- Adjust the paper guides so they touch the stack on both sides, and do not overfill the tray.
- Print the Alignment Test page to see whether the problem is the head (doubled lines) or the paper (uneven margins).
Page printed too small, too large or cut off
Usual causes: The print dialog is scaling the page, or the paper size setting does not match the paper.
- Set Scale to 100% or “Actual size”, and turn off “Fit to page” or “Shrink oversized pages”.
- Make sure the paper size in the dialog (Letter or A4) matches the paper in the tray.
- Print the Print Scale Test page and measure the rulers.
More test pages
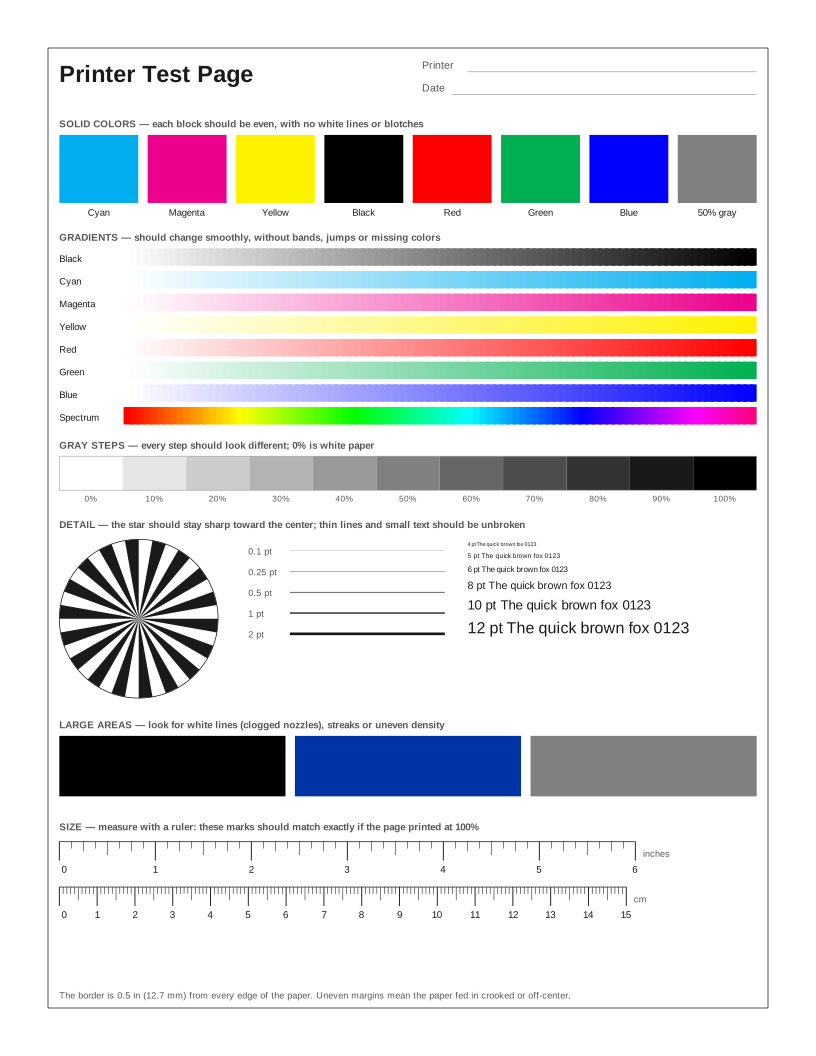 Printer Test Page
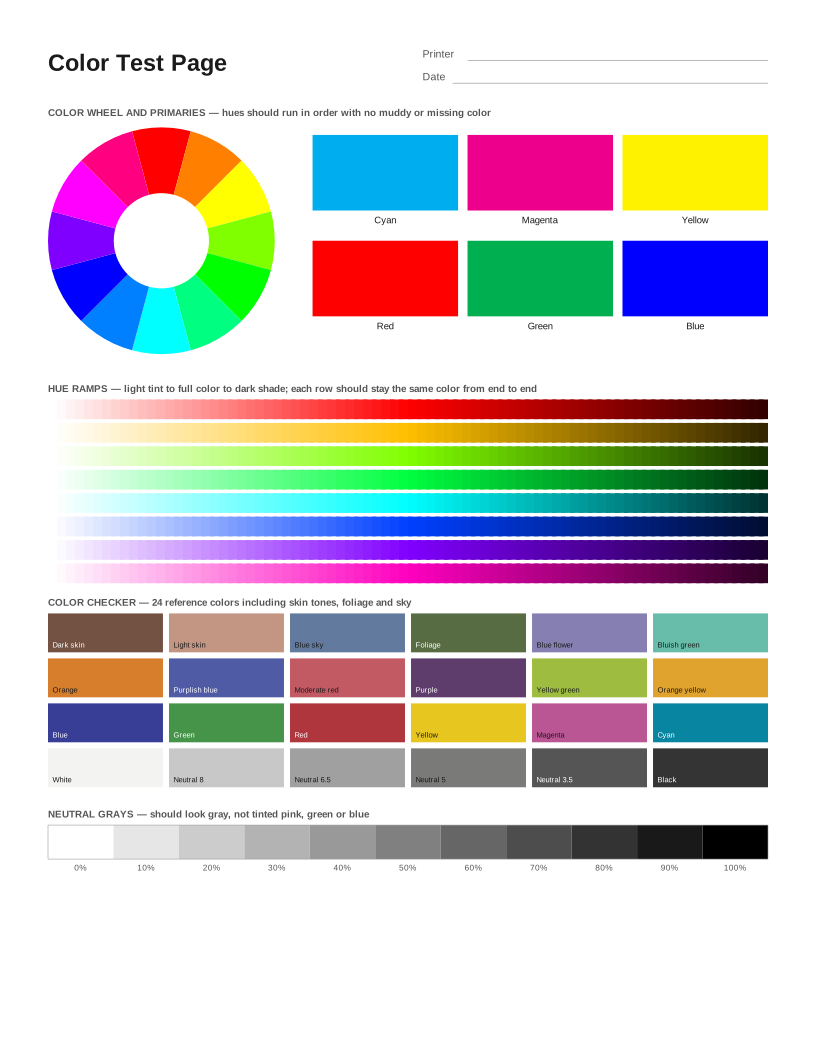 Color Printer Test Page
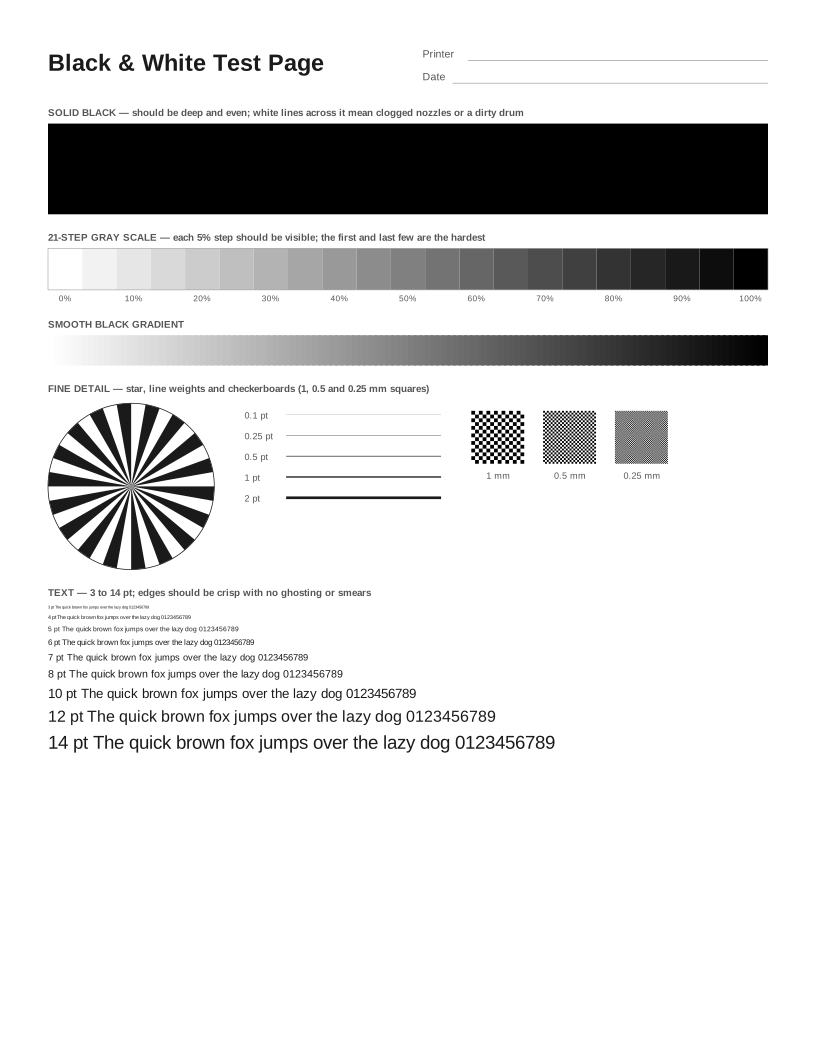 Black and White Test Page
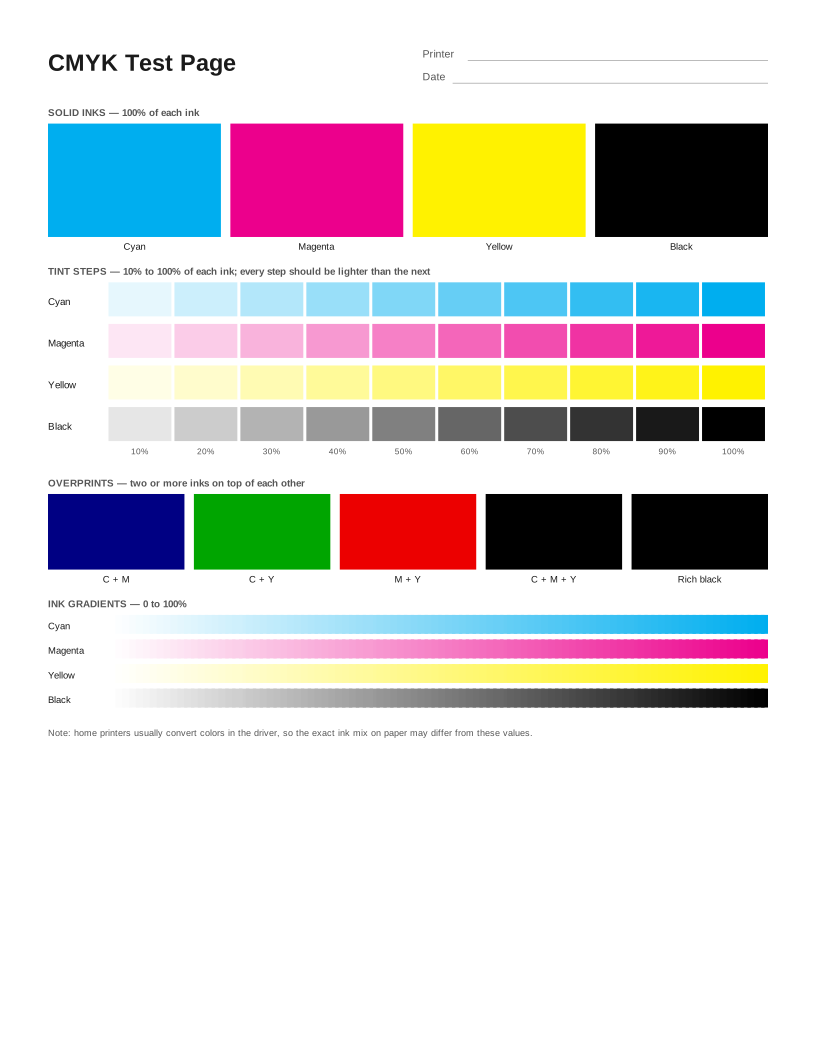 CMYK Test Page
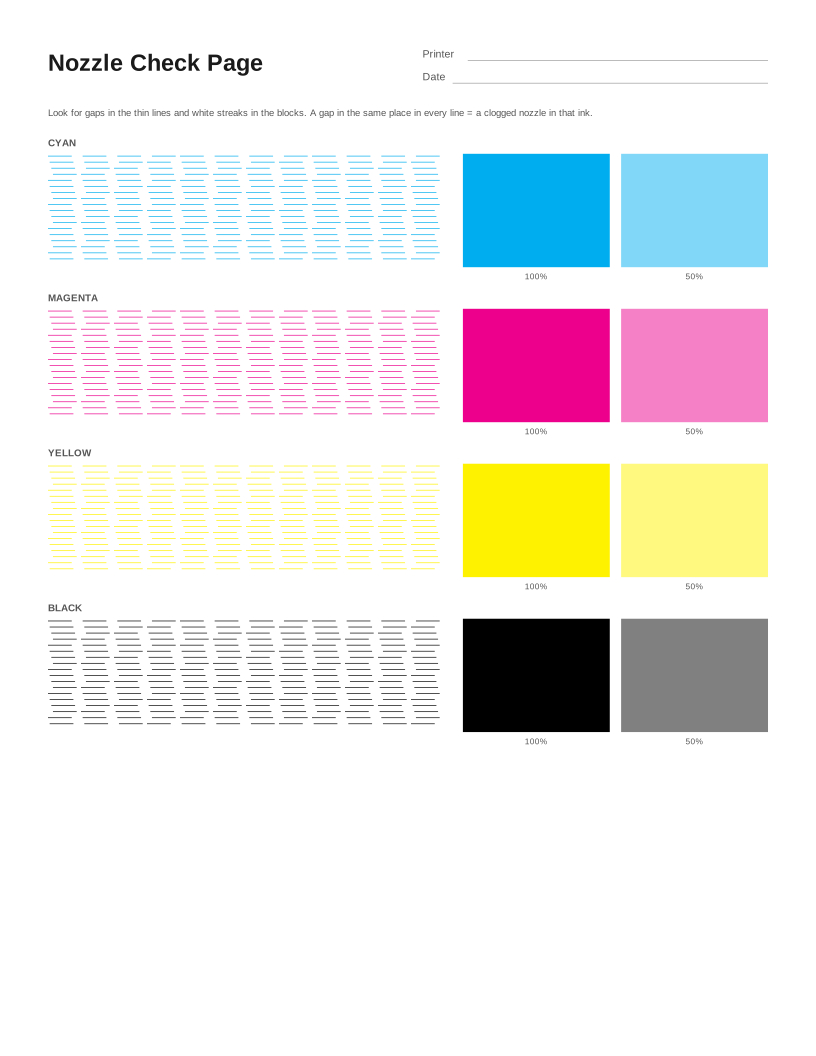 Nozzle Check Page
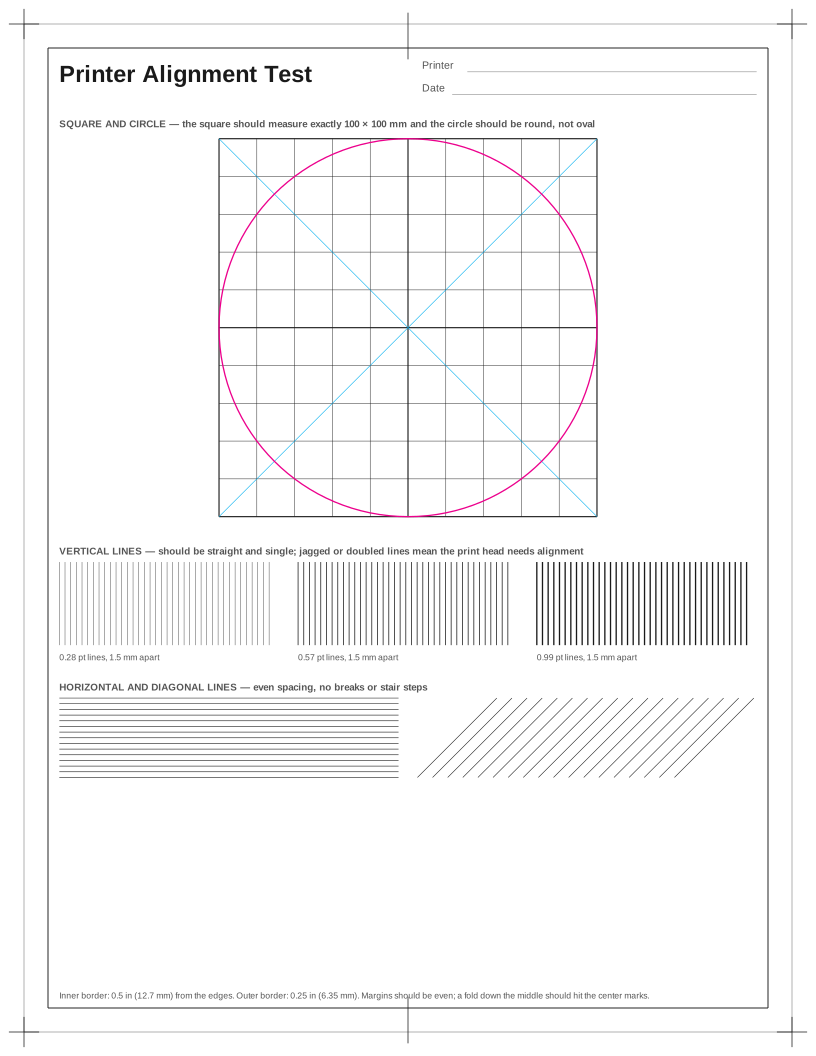 Printer Alignment Test Page
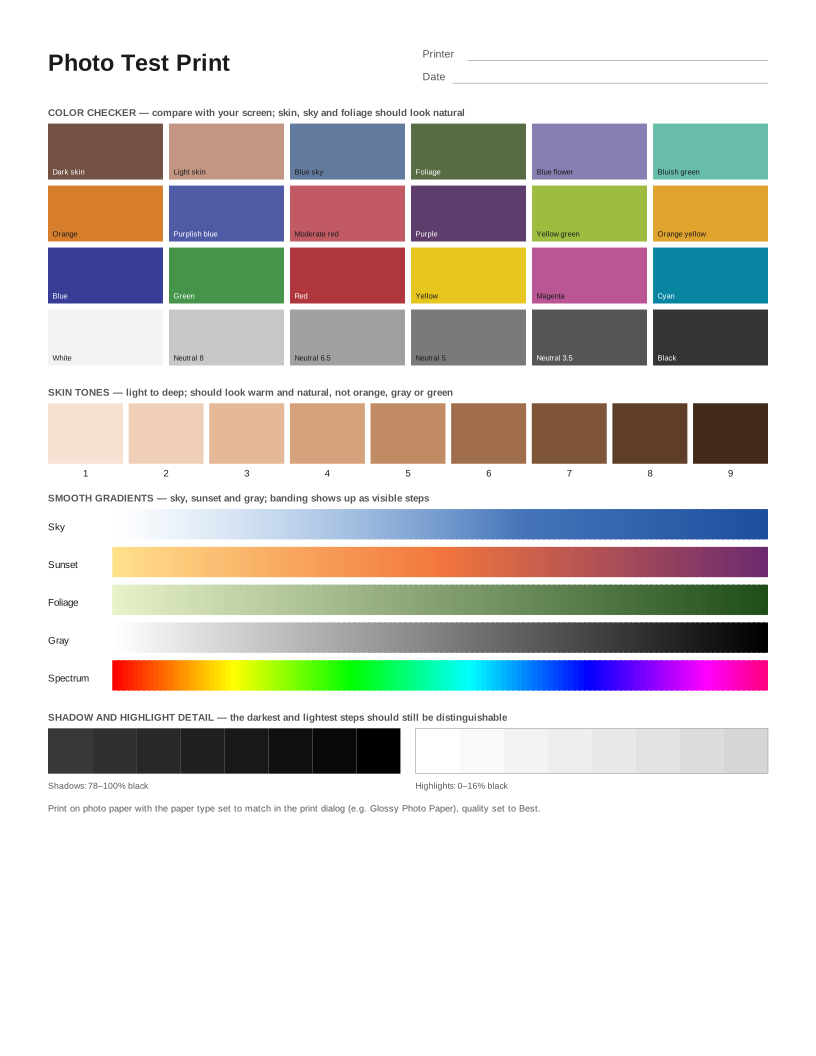 Photo Test Print
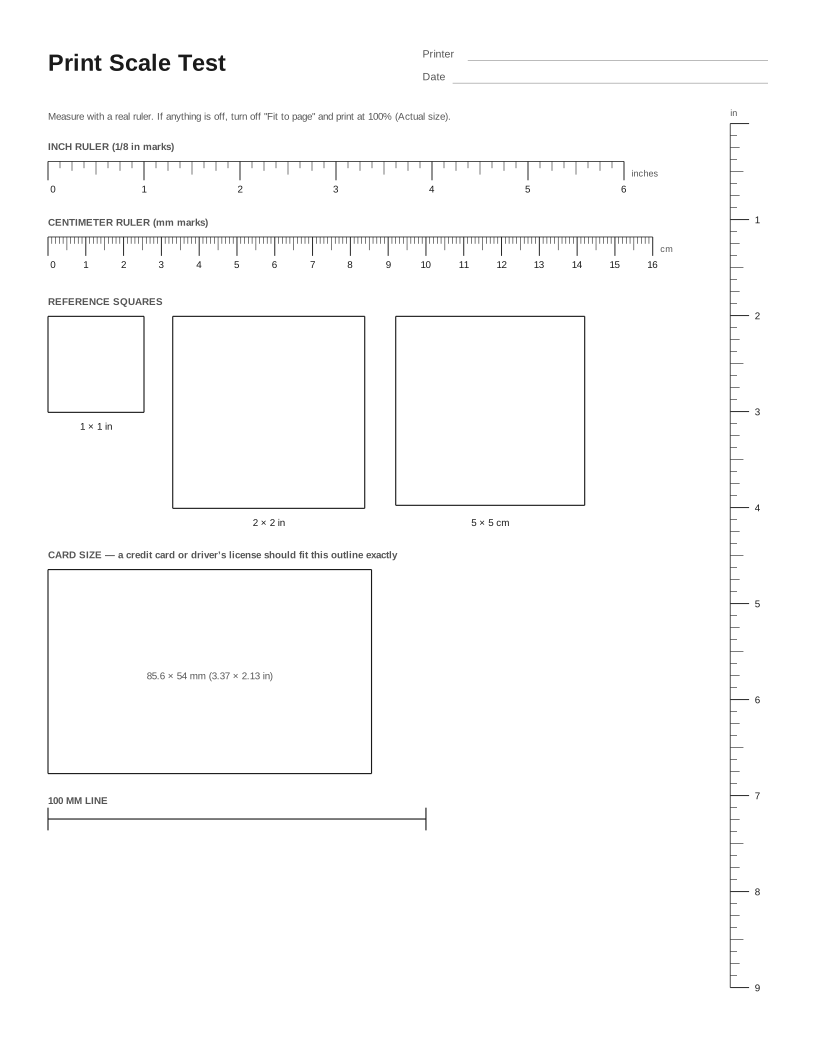 Print Scale Test (Actual Size Check)
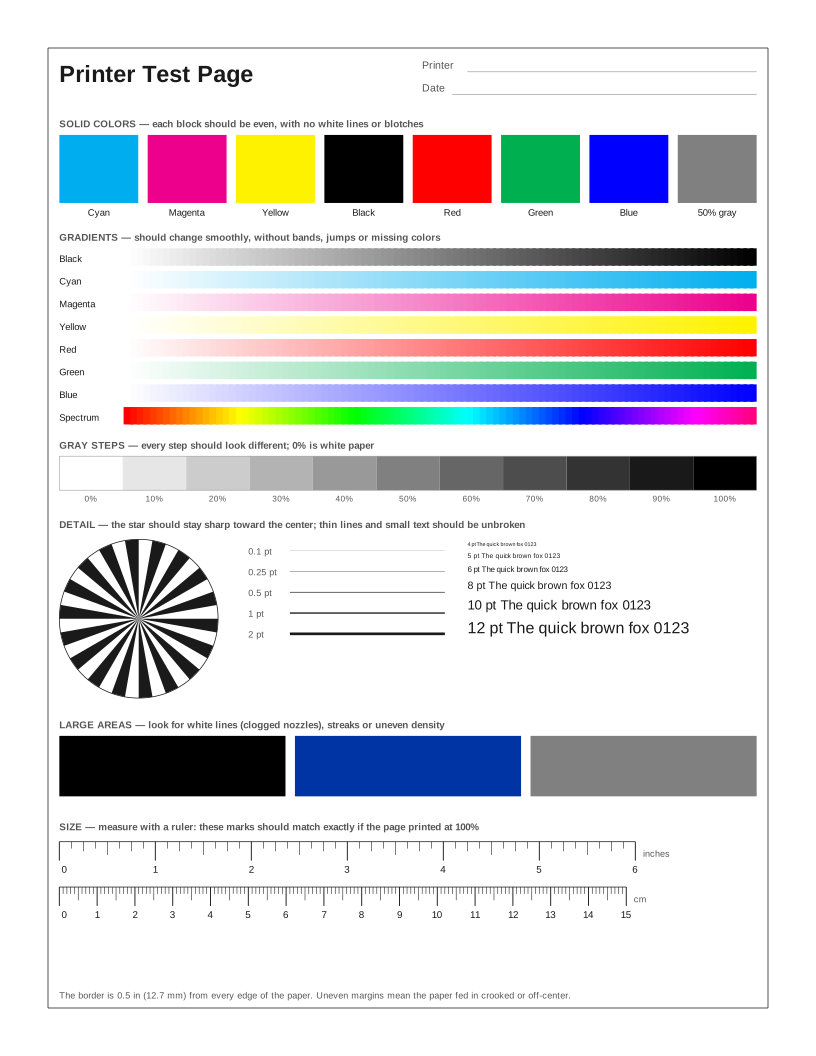 Epson Printer Test Page
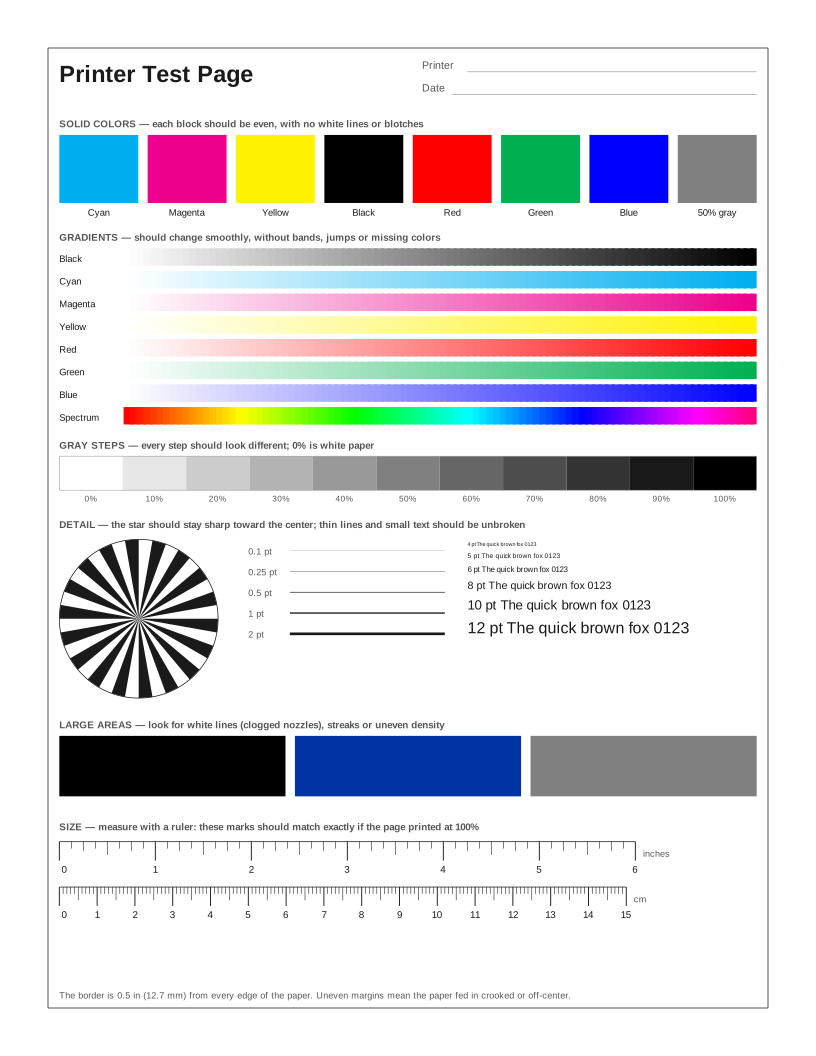 Canon Printer Test Page
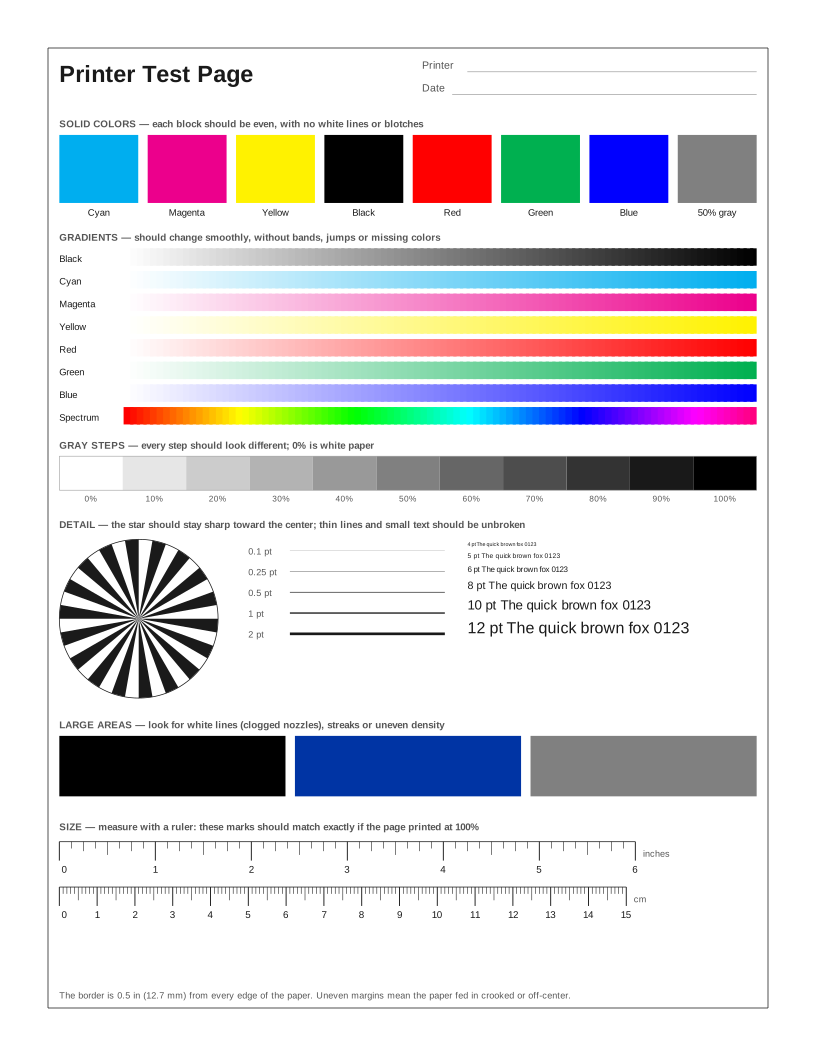 Brother Printer Test Page
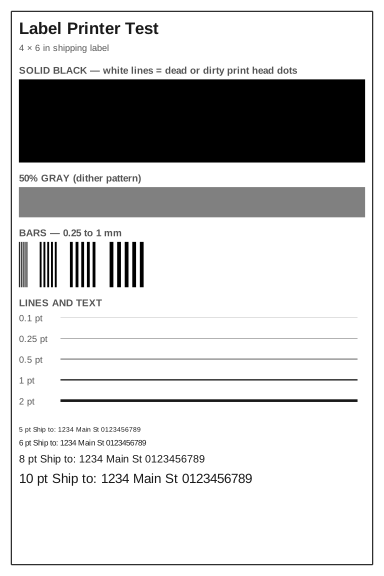 Label Printer Test Page
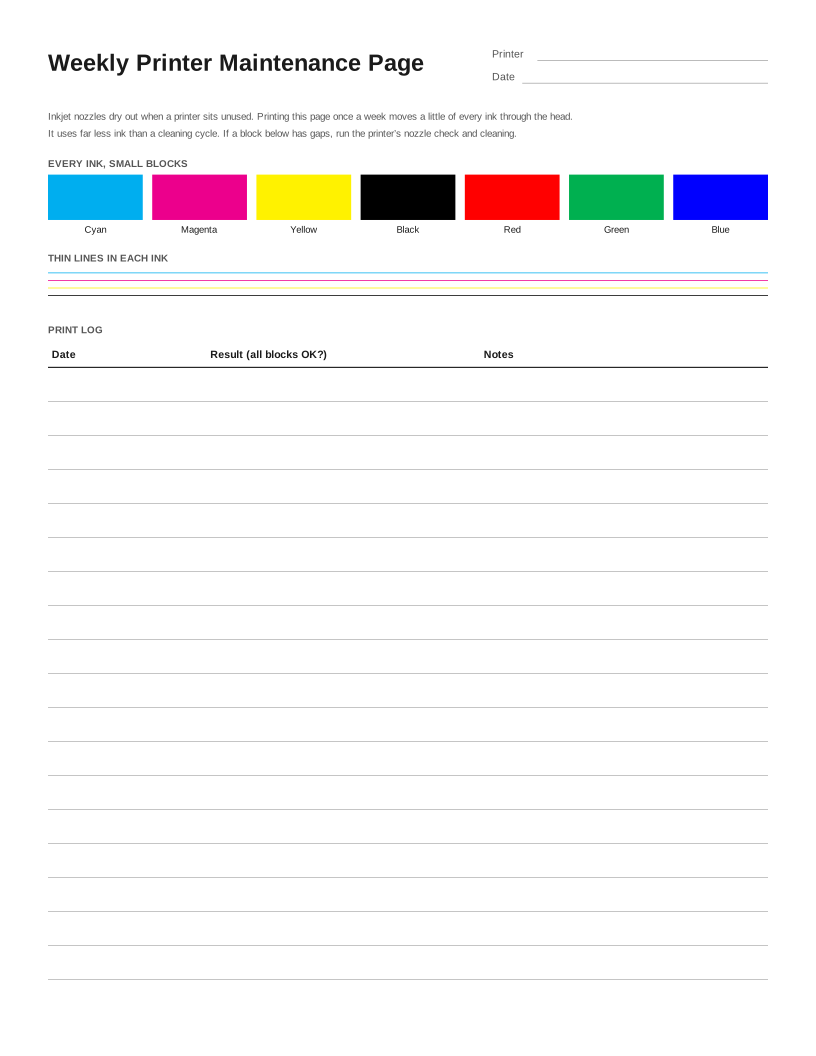 Weekly Inkjet Maintenance Page
Frequently asked questions
How do I print a test page on an HP printer?
Click Print above and choose your HP printer, or print HP’s built-in Print Quality Report from the printer’s Reports or Tools menu. On printers without a screen, the button combination for the report is in the model’s manual.
My HP printer prints blank pages. What should I check?
Make sure the cartridges are installed correctly and the protective tape is removed, then check ink levels. On an HP Smart Tank, check that the ink tanks are filled and the printhead is primed. Run the print head cleaning from the Tools menu if the Print Quality Report shows missing colors.
Does this work with HP Instant Ink cartridges?
Yes. It is an ordinary PDF printed from your computer; it does not care which cartridges are installed.